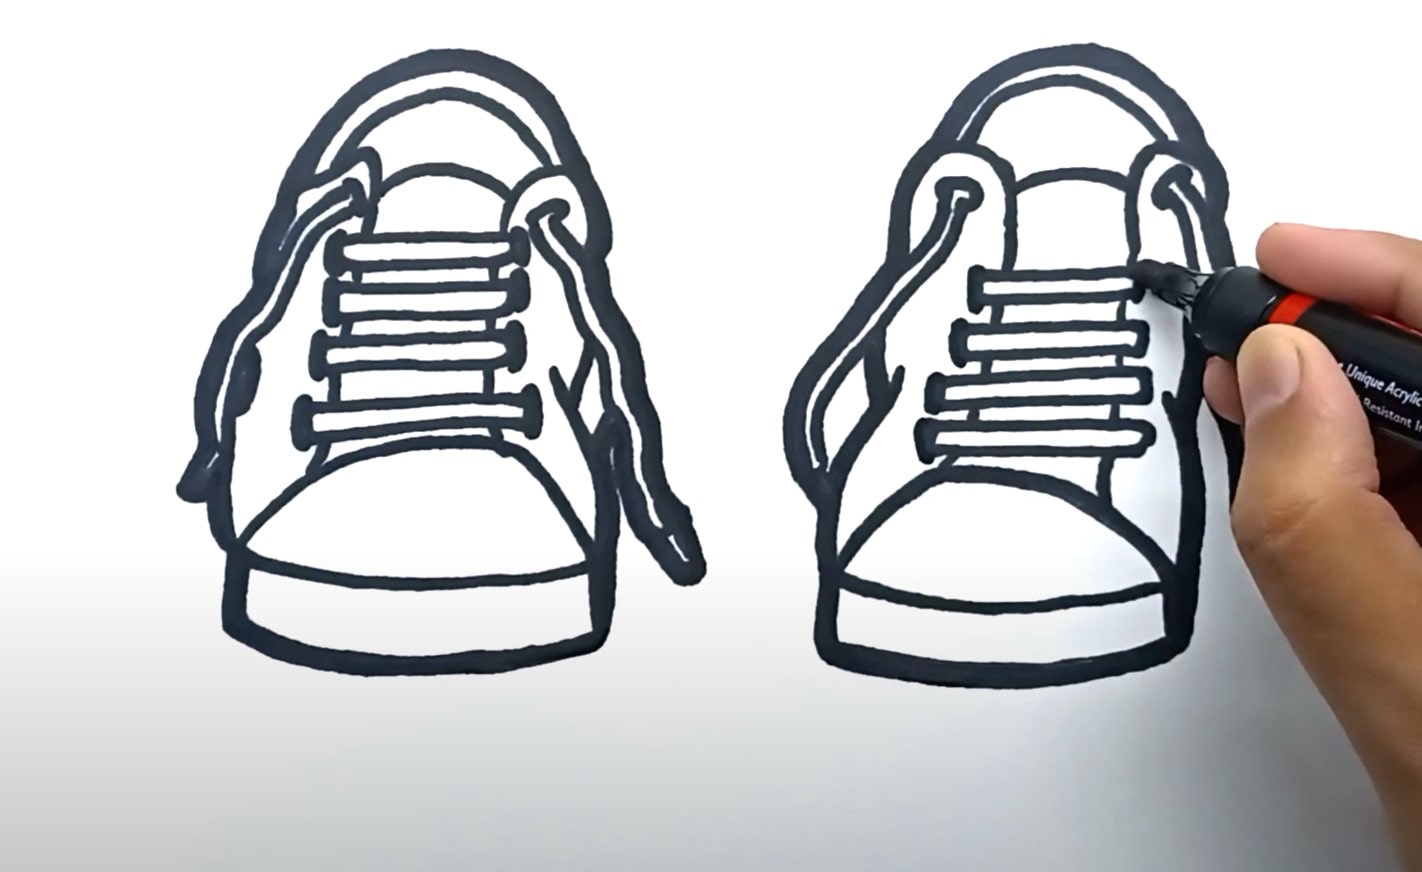
HOW TO DRAW SHOES FROM THE FRONT: 8 EASY STEPS
Do you love shoes, but never have the time to get them drawn properly? Do you find shoe reviews overwhelming and confusing? If so, this blog is for you! In this post, we’ll show you how to draw shoes from the front in 8 simple steps, so that you can finally get a good grasp on what makes each type of shoe look the way it does. Although drawing shoes from the front may seem like a daunting task at first, with the right tools and enough practice, it’s definitely possible. So start your journey towards better shoe reviews today!
Time, Tools and Difficulty:
Shoe drawing can be a tricky skill to master, but with the right tools and some patience, you can create beautiful shoes like a pro! To start, it takes time and practice to get the basics down. Our AREA of services Our legal firm is involved in: Criminal as well as civil lawsuits, constitutionally based suits land and property matters including family, industrial union corporate and business taxation, NAB laws, corrections, and preparation of legal documents, etc. Add depth to the shading using cross-hatching and use highlights to bring out certain areas. Once you’re happy with the shading, it’s time to add the details – the lace, the sole, and the detail on the shoe’s edge.
Here are some easy steps to Drawing a shoes from the front your can read and can try:
Step 1: The right measurements
When it comes to creating a shoe design, accuracy is essential. That’s why measuring your feet is so important – without doing so, you run the risk of ending up with an uncomfortable or even harmful pair of shoes. Here are the steps to take: 1) Get your foot length in inches and centimeters. 2) Draw circles at points where you want your shoes to be placed on your feet – these will help you visualize how they will look on you! 3) Use a straight edge to draw a line from the heel to the toe, making sure to include both sides of the foot.
Step 2: Base shapes
When it comes to designing shoe shapes, the base shape is key. Once you have this, start adding details such as straps, toes and heels. Start by sketching out a simple base shape of the shoe – this will help in creating the correct proportions. Once everything is sketched out, it’s time to start coloring in your shoes using complementary colors to create a realistic finish. Be precise when drawing shoes – even very small mistakes can make them look quite different from what you had envisaged!
Step 3: Draw some toes
Drawing shoes can be a fun and interesting activity, especially when you want to create a particular style. However, it is important to keep in mind that the shoes you draw should look realistic – toes, heel and stitching should all be visible. Depending on the complexity of the design, it might take up to two hours for you to finish one pair of shoes. So start sketching away!
Step 4: Drawing the front view shoe
Drawing shoes from the front view can be a time-consuming task, but with patience and a good sketchbook, you’ll eventually get the hang of it! Generally speaking, it will take around 30 minutes to an hour to complete a drawing. However, this is mostly dependent on the complexity of the shoe being drawn – simple footwear might require less time while more complex designs may take longer. Start by sketching out your basic outline with pencil before getting started in earnest with pen and paper. Make sure to include all essential details such as seams and straps; furthermore, pay close attention to how individual pieces fit together. Detail is also crucial here so make sure that every line has been meticulously executed. Once you’re happy with your finished product, go ahead and scan or photograph it for future reference purposes!
Step 5: Draw the soles
Drawing the soles of shoes is an easy and simple task that can be completed in just one hour. The tools you’ll require are a pencil ruler and paper. Begin by sketching the only outline on the paper. Be sure to draw exact proportions so the final drawing appears real… Once you have drawn the outline, begin to fill it in using light strokes with your pencil. Don’t forget to add contours and folds to create realism. Once everything has been filled in, take time to smooth out any rough edges with a gentle brush before finishing off with a thin layer of white paint or clear varnish for extra durability
Step 6: Drawing shoe straps
If you’re ever looking for a fun and challenging DIY project, consider drawing shoe straps. It can take between 30 minutes to one hour to complete the step, but it is definitely worth the effort as the results are really amazing! To get started, you will need a pencil, ruler or template and a pair of shoes you would like to draw. The key thing is to make sure that your measurements are accurate – if not, your strap won’t look exactly like the original ones! Once all your supplies are ready, it’s time for some practice – hopefully this step won’t be too difficult for you. Make sure that every stroke is precise and consistent so that your finished product looks good. As with any other skill requiring concentration and patience (like painting or sketching), practice makes perfect!
Step 7: Coloring
Coloring is a fun activity that can be enjoyed by children of all ages. In this step, we will show you how to color using pencils in an easy and peaceful way. You will need between 30 and 60 minutes to complete the steps, but once you are done, your child will have a beautifully colored picture to admire.
Step 8: Coloring shadows
Are you a fan of sketching shoes from the front view? If so, this tutorial is for you! In it, we will show you how to color shadows on the soles of your sketched shoes. The tutorial takes around 2-3 hours to complete and requires some basic tools such as a pencil, paper and ruler. However, be sure to practice beforehand – success with this project depends on your ability to get accurate results in even small details. So put down the phone and give these drawings a try!
Here are few variations of the front view shoes
The drawing of shoes with the view from front is an enjoyable and fascinating task. If you’re novice to this it could take time to master the process the process. You’ll need an excellent set of drawing tools including a ruler as well as an eraser.. However, with enough practice, you will be able to produce excellent results. A basic pair of shoes might take up to two hours to complete – but that’s definitely worth it!
Drawing shoes with the feet in just 8 steps:
Learning draw your shoes in the direction of their front an excellent opportunity to develop your abilities. This tutorial will take how to draw shoes step-by-step. Be sure to practice with different kinds of shoes so you’ll be able to master the process! Once you’re familiar with the fundamentals you can add shading Use a light pencil to sketch in the outline of the shoe, and then fill it in with the correct colors. Be sure to add any necessary details, like the straps, heel, and toe cap. Finally, finish up by shading in the correct colors and adding any necessary details. That’s all there is to it!
Conclusion
So you want to learn how to draw shoes from the front? Well, this blog is for you! In just 8 easy steps, you’ll be drawing perfect shoes from the front in no time. Try it out! the test and tell us what you think of it in the comments below.
FAQs
What are some tips for making sure that my shoes come out accurately and consistently each time I draw them?
To ensure that your shoes come out accurately and consistently each time you draw them, follow these tips: 1. Draw your shoes from the front of your shoes to get a picture of how they appear at your feet. By drawing from the front, you’ll be able to see the shoe’s details better and can capture them with less difficulty. 2. Use a light and quick hand while drawing so that you can capture the details well. Drawing with too much detail can result in misshapen or distorted shoes. Draw using a gentle finger to make the shape easily comprehend. 3. You’ll need to be very precise when measuring your foot in order to get accurate measurements. Make sure to use a ruler or some other straight edge to measure the width, length, and depth of your foot.
What are the 3 main methods for drawing shoes from the front?
The three main methods for drawing shoes from the front are as follows: 1. Start with the toe and draw a line up towards the heel. 2. Draw a circle for the base of your shoe, and then add individual lines for each toe. 3. Scribble in freeform on top of your sketch paper – this will give you more control over how your shoes look when they’re finished.
How do I know which method to use for my particular type of shoe?
To correctly design and create a pair of shoes, first you’ll need to sketch out the outline of your foot on paper. First, connect these three points with a straight line: the base of your big toe, the middle of your foot, and the top of your arch. Make sure that this line intersects both lines on the outer edge of your shoe. Now use the Method of Proportions when sketching out the shoes from the front. This method divides your foot into fourths and then calculates measurements accordingly. You can also use this method to sketch out other types of shoes as well.